Audio Input Selection
You can select an external microphone as the audio source in the Preferences panel. Transceive will remember your selection and will try to use this device next time it launches.
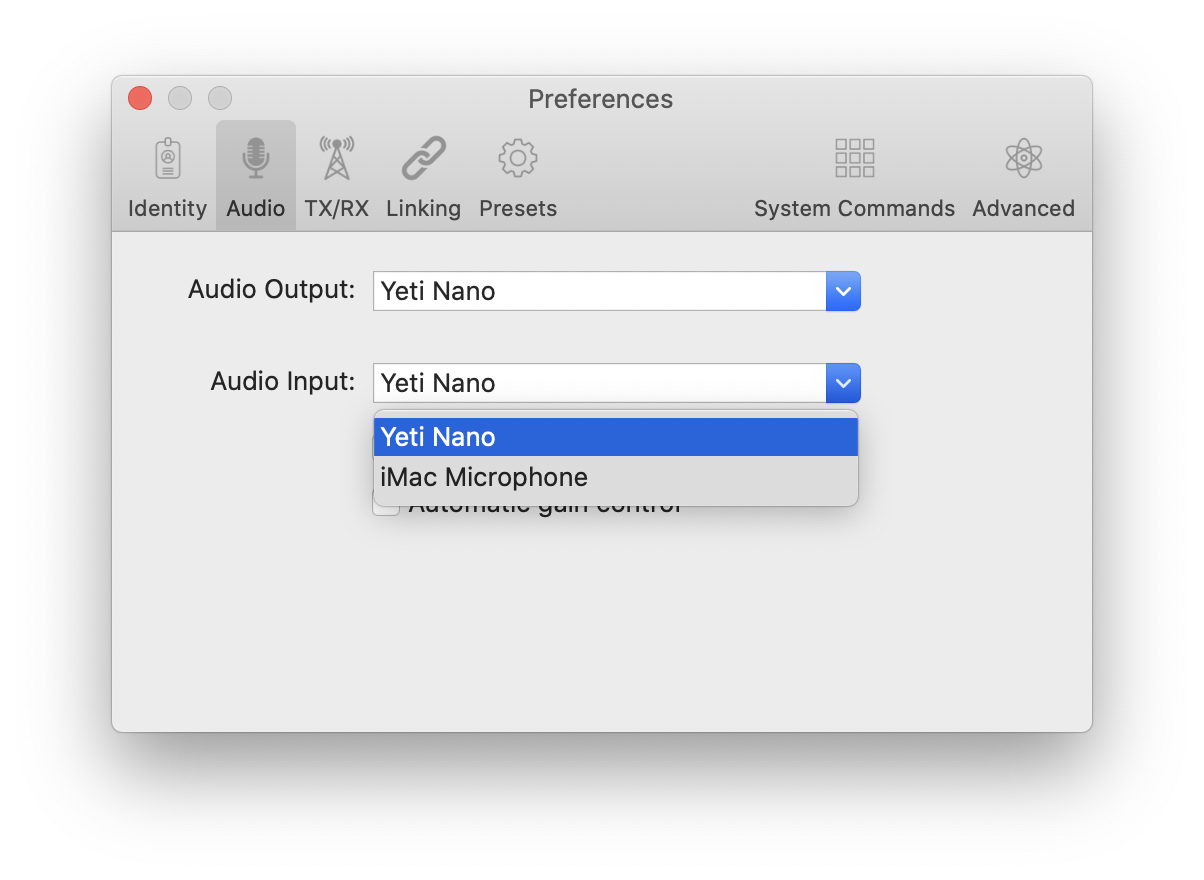
If your device does not appear in the list, make sure your device is connected and restart Transceive.
At this time, Transceive is not able to dynamically detect additional audio devices after launch.
Allow Access
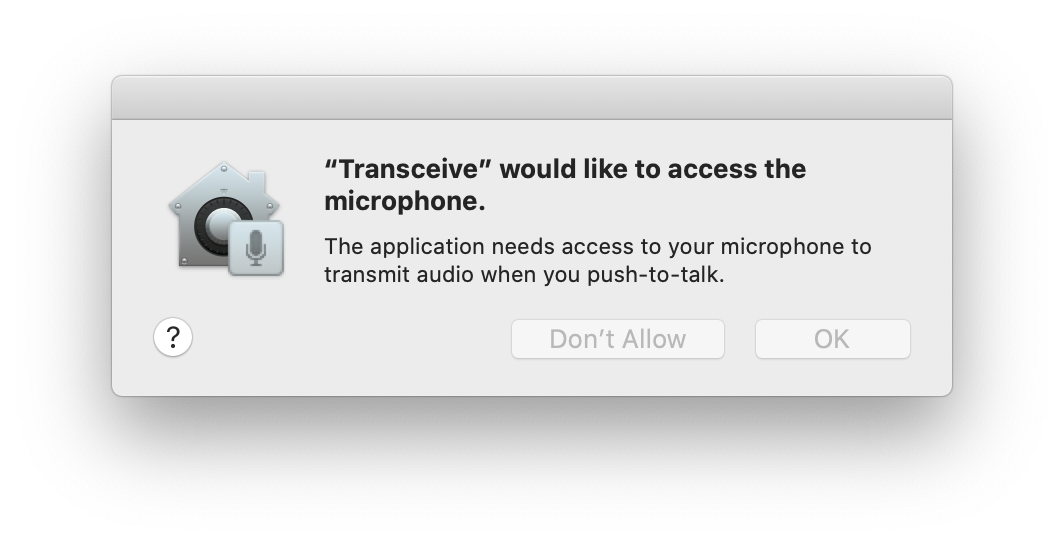
If you can transmit but nobody hears you, it's likely that Transceive does not have proper access to your microphone. During first launch, Transceive will request permission to access your microphone so you can transmit audio.
You can verify that proper access has been granted by opening System Preferences, Security & Privacy and select the Microphone category.
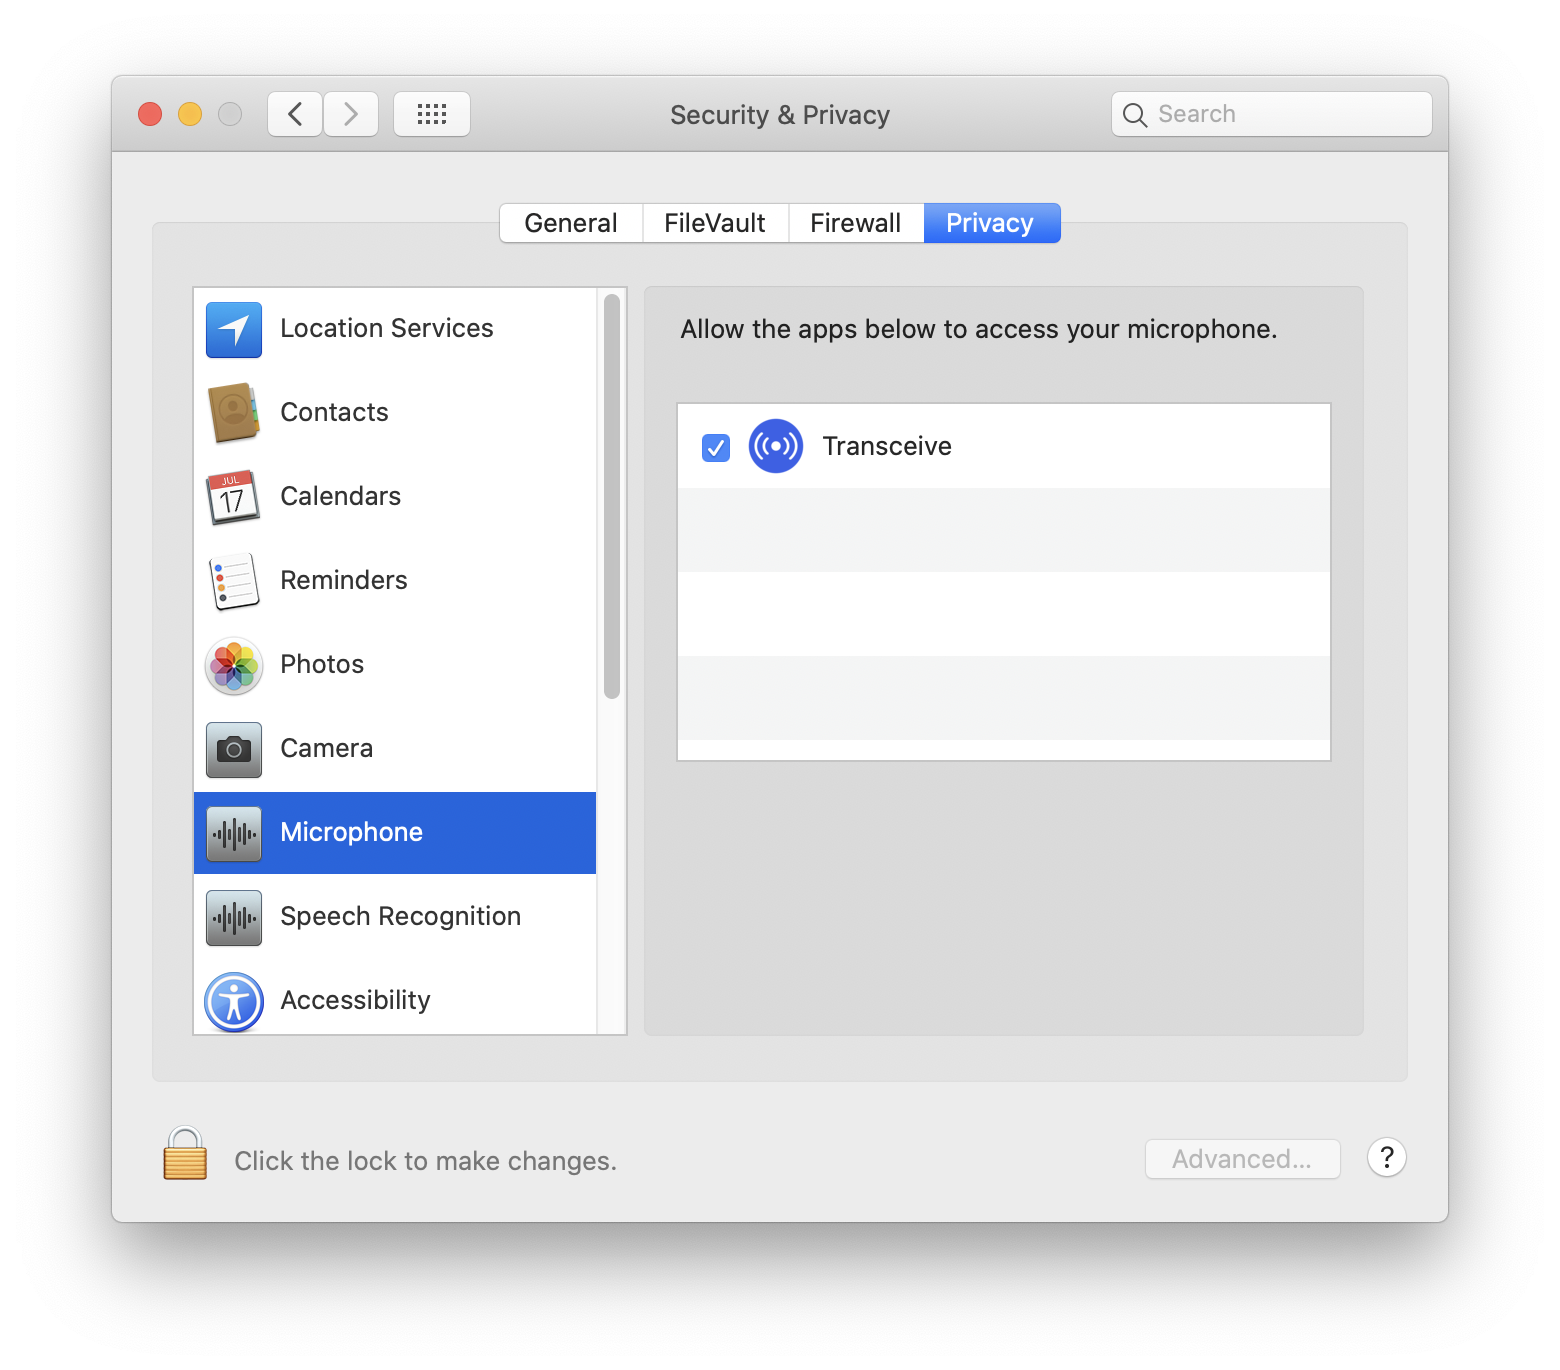
Make sure that Transceive is selected so it can access your microphone.
Reset Access
If Transceive does not appear in the Microphone Privacy list in System Preferences, you can force macOS to re-request access next time Transceive launches.
Open Terminal and type the following command:
tccutil reset Microphone co.islandmagic.transceiveRestart Transceive and you should be prompted to allow access to the microphone.
Audio Monitor
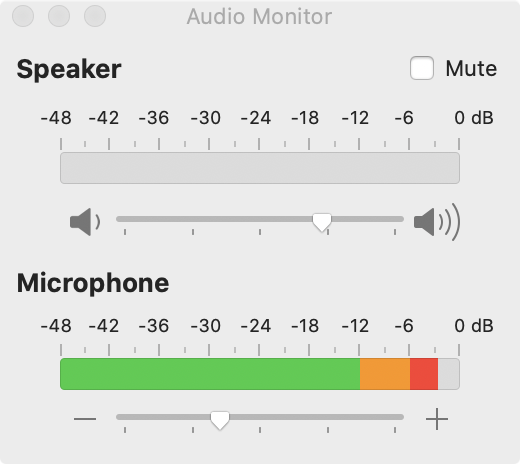
The Audio Monitor window can be accessed via the Show Audio Monitor option in the View menu or ⌘A shortcut.
The monitor shows the audio levels and allows you to adjust speaker volume and microphone gain.
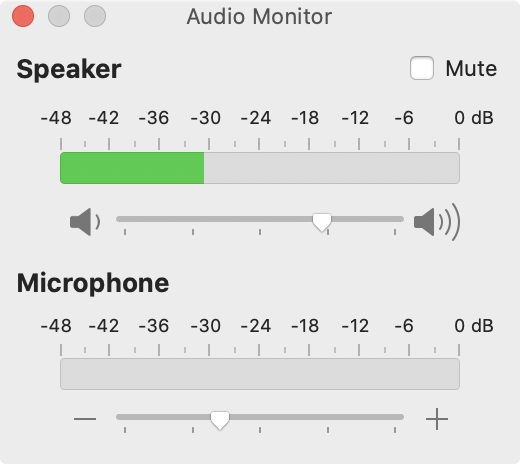
The bar graph will turn red when the level reaches saturation. Make sure to keep your microphone gain well below that limit.
Audio Test
Audio quality is difficult to assess without the help of another station. If you control the node you're connected to, you can experiment by linking to a parrot node. The parrot node will simply repeat back your transmission and allow you to make adjustments to your audio.
A reliable public parrot node is node 42565 from DVSwitch. Connect to node 42565 in Transceive.